
Create a spooky glowing witch using a wire tomato cage, black lace, a foam ball, and battery-powered fairy lights!
This easy Halloween DIY turns simple craft supplies into a mysterious witch with a flowing black cloak, a pointed hat, and a warm glow underneath.
It’s budget-friendly, beginner-friendly, and perfect for decorating your entryway, living room, or covered porch.
Materials You’ll Need
- 1 wire tomato cage (approximately 30–36 inches tall)
- 1 Styrofoam ball (4–5 inches wide)
- 1 small black witch hat
- 2 yards of black lace or sheer tulle fabric
- 1 small square of black fabric (for covering the head)
- 1 strand of battery-powered warm-white LED fairy lights
- 1 short wooden dowel (about 8 inches)
- Black ribbon or string
- Zip ties
- Black electrical tape
- Hot glue gun (preferably low-temperature)
- Scissors
- Pliers
- Optional: Purple ribbon or a small crescent moon charm
Step 1: Prepare the Wire Frame
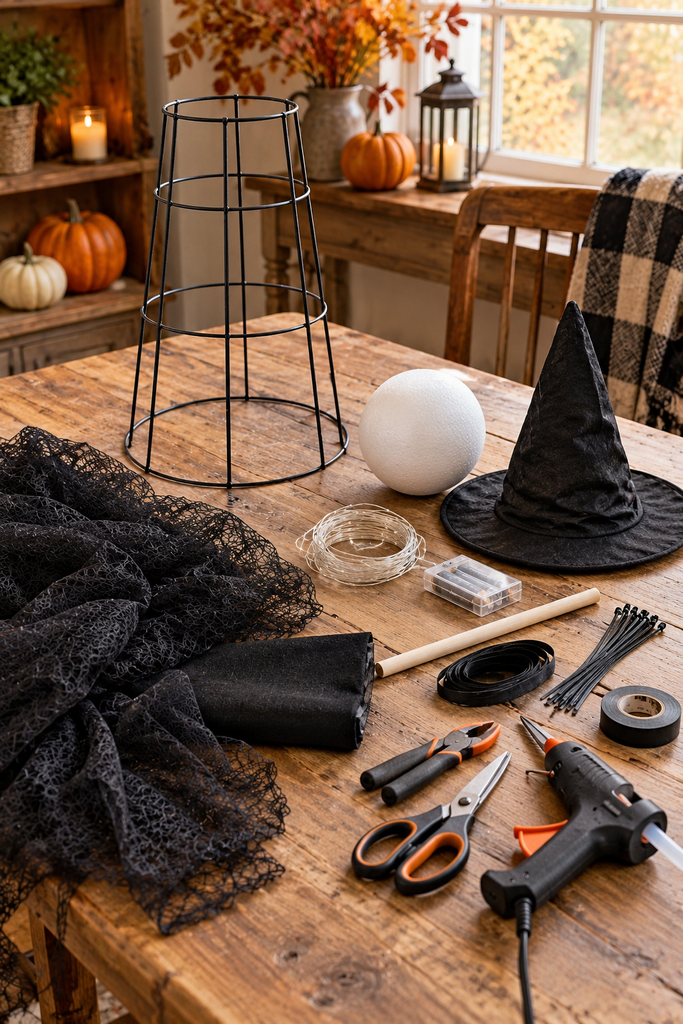
Turn the tomato cage upside down so the widest circular opening sits at the bottom. This creates a cone-shaped frame that will support your witch’s flowing cloak.
Affiliate disclosure: As an Amazon Associate, I earn from qualifying purchases.
Use pliers to bend any exposed wire ends inward, and cover sharp tips with electrical tape.
Make sure the frame stands securely on a flat surface before continuing.
Step 2: Attach the Witch’s Head
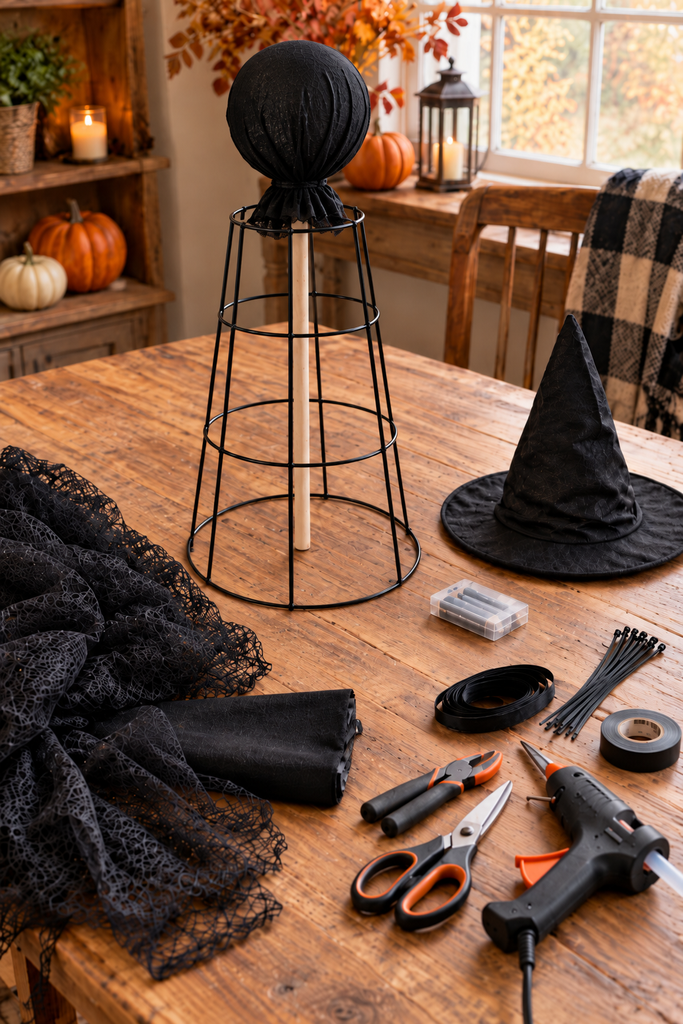
Secure the wooden dowel vertically near the top of the wire frame using zip ties, leaving a short section extending upward.
Make a small starter hole in the bottom of the styrofoam ball using a pencil, then gently push the ball onto the dowel.
Cover the entire ball with black fabric and gather the material underneath with ribbon or string. The white styrofoam should be completely hidden, creating a simple, faceless witch’s head.
Step 3: Add the Glowing Fairy Lights
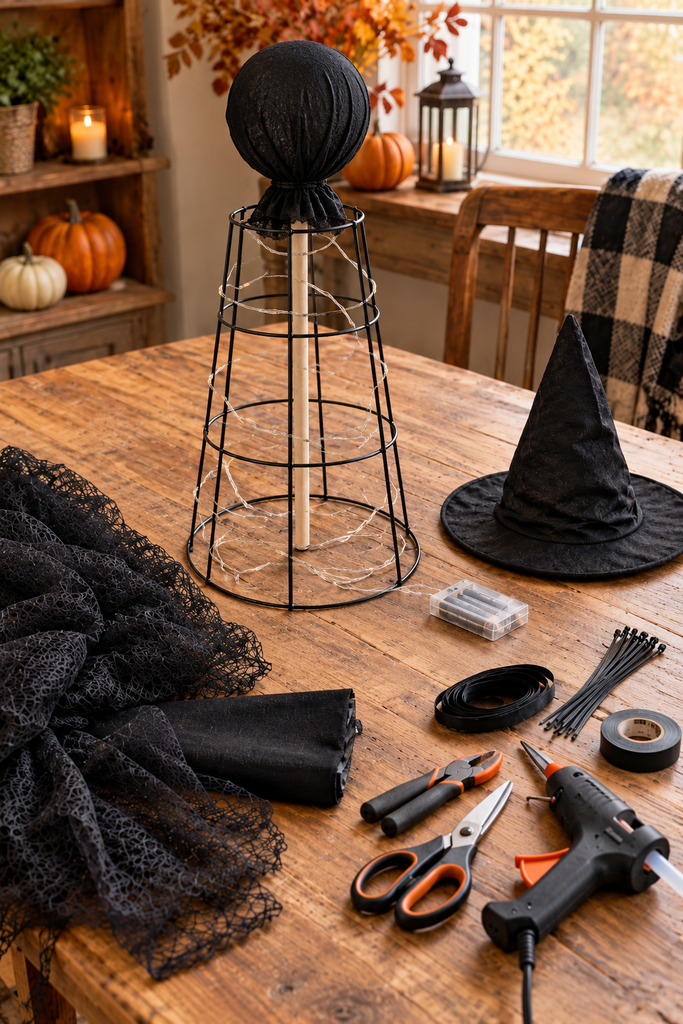
Wrap the battery-powered fairy lights loosely around the inside of the wire frame.
Spread the lights from top to bottom so the entire decoration glows evenly. Secure a few sections to the wire using small ties if needed.
Keep the battery pack near the bottom of the frame, where it can be hidden but easily reached.
Switch on the lights to check their placement before adding the fabric.
Step 4: Create the Flowing Black Cloak
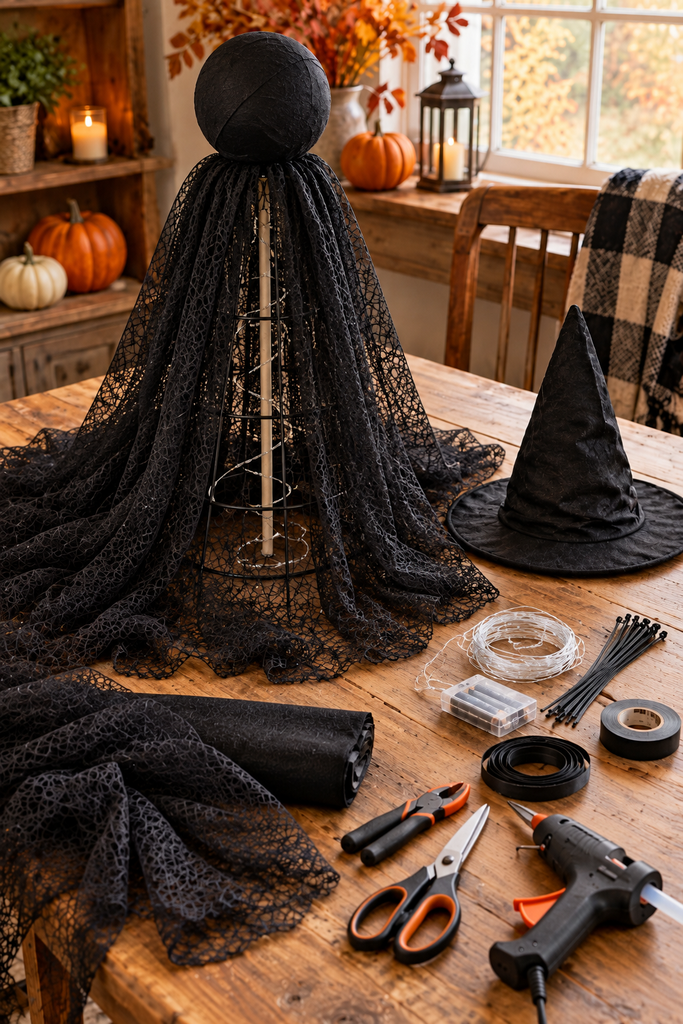
Cut the black lace or tulle into two long panels, slightly longer than the wire frame.
Gather the top edges beneath the witch’s head and secure them around the upper frame with black ribbon or string.
Let the fabric fall naturally over the wire structure, overlapping the panels to hide most of the frame. Allow a little extra lace to pool around the bottom for a dramatic, floating appearance.
The fairy lights should remain softly visible through the sheer fabric.
Step 5: Add the Witch Hat
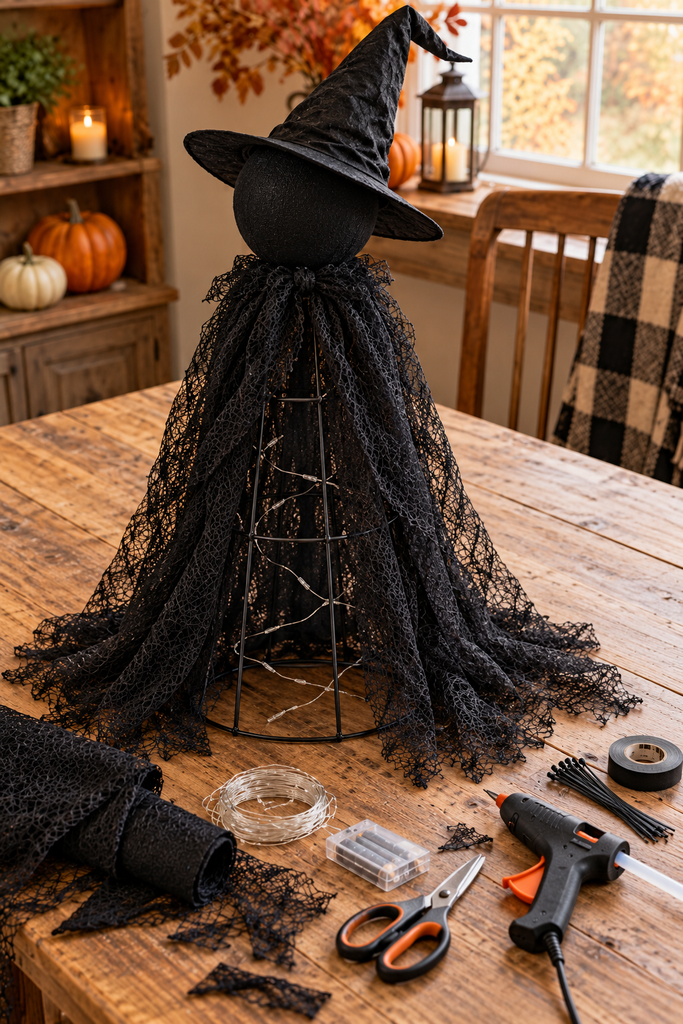
Place the black witch hat on top of the covered styrofoam head. Tilt it slightly to one side for a more playful, mysterious appearance.
Secure the hat with a few small dabs of low-temperature hot glue. For a unique finishing touch, add a narrow purple ribbon around the hat or attach a small crescent moon charm.
Step 6: Arrange and Display Your Glowing Witch
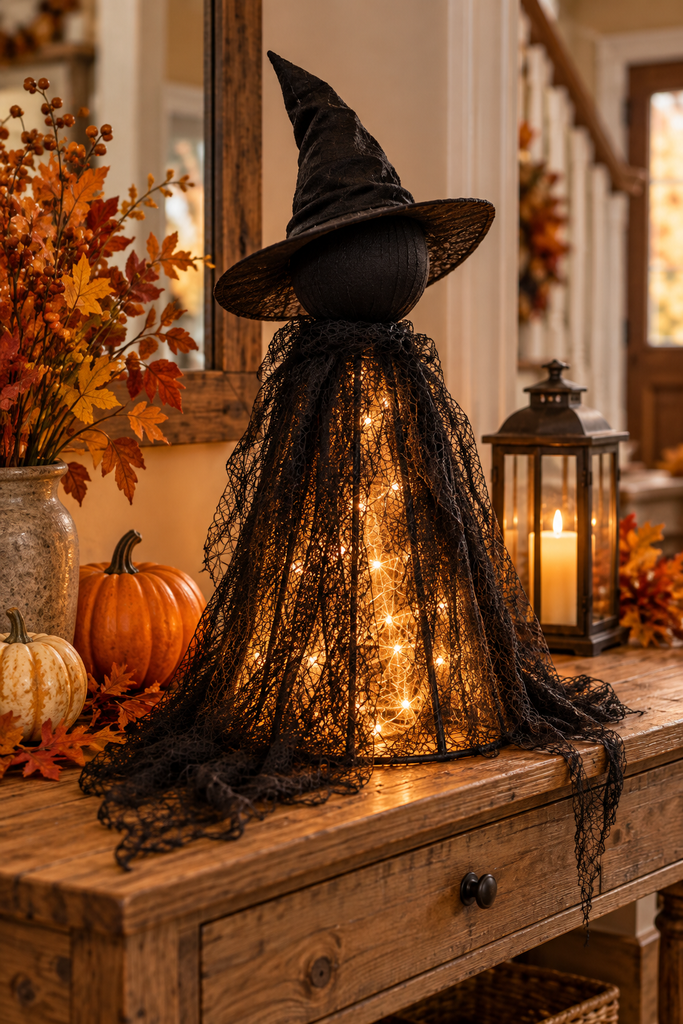
Gently spread the black lace around the base to create a full, flowing silhouette.
Adjust any uneven sections and make sure the fabric covers the wire frame without completely blocking the lights.
Turn on the fairy lights and check the finished appearance.
You should now have a glowing Halloween witch with a pointed hat, a dark faceless head, and a flowing lace cloak!
Tips for Making Your Witch Look More Magical
- Layer the fabric: Use two layers of lace for a fuller, more mysterious cloak.
- Create a different glow: Try purple or orange LED fairy lights for a more colorful Halloween effect.
- Add subtle details: A dark purple ribbon or a few small decorative spiders can make your witch stand out.
- Keep it safe: Use only battery-powered LED lights near the fabric, never candles or lights that become hot.
Where to Place Your Glowing Halloween Witch
This decoration looks especially eerie on an entryway table, beside a fireplace, or in a sheltered porch corner.
For a more dramatic display, make two or three witches in different heights and arrange them together like a small Halloween coven.
If displaying them outdoors, secure the bases with hidden weights and keep the decorations protected from rain and strong winds. Avoid placing them where the flowing fabric could become a tripping hazard.