
Building a Halloween skeleton pallet decoration takes one afternoon and four basic parts: a wooden shipping pallet stood on end, a full-size plastic skeleton around 5 feet tall, faux plastic chains, and a way to anchor the pallet so it stays upright.
Most of the cost sits in the skeleton, since pallets are free from garden centers, hardware stores, and furniture retailers that receive weekly freight.
The build itself is simple. The parts that decide whether the prop lasts past one October are choosing a pallet that is safe to handle, cleaning it up, and anchoring it against wind and rain.
Chained Skeleton on an Upright Pallet
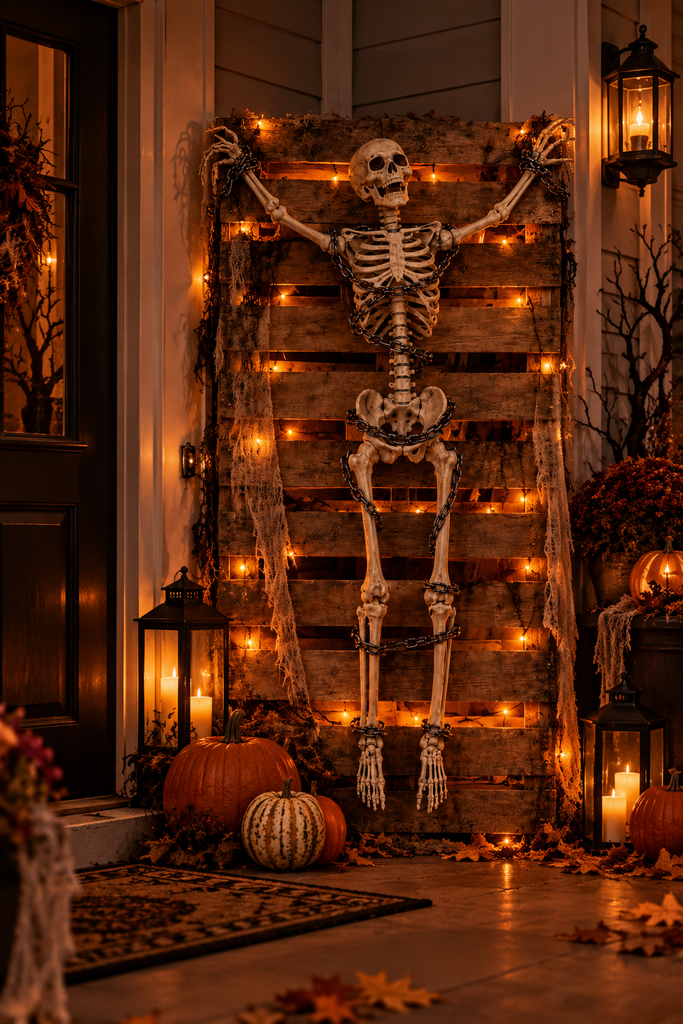
This Halloween decoration stands a pallet vertically with a posed skeleton secured across the front, creating a creepy dungeon-inspired look. Lean the pallet against a tree, fence, or porch post, or anchor it securely so it can stand on its own.
Materials:
- 1 pallet, as large as you can find (a 48-inch side is the minimum for a 5-foot skeleton)
- 1 full-size posable skeleton, about 5 feet
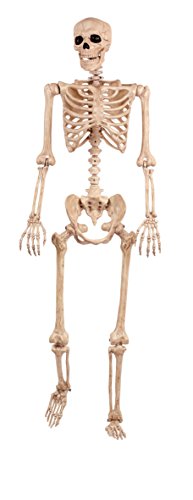
- 10 to 15 feet of faux plastic chain
- Heavy zip ties in black
- Battery-pack LED string lights or a small spotlight
- Optional: a small Bluetooth speaker playing Halloween sounds
Steps:
- Stand the pallet on its 40-inch edge so the longer side runs vertically.
- Tuck lights and the speaker behind the top deck boards, where the slat gaps let the glow leak through.
- Raise the skeleton’s arms overhead and zip-tie each wrist to a top slat.
- Wrap chain across the ribs, waist, and ankles, zip-tying the chain to the slats every foot or so.
- Tilt the skull down and let the jaw hang open.
A skeleton dog or a scatter of skulls at the base fills the empty ground and makes the scene read well from the sidewalk.
Preparing a Salvaged Pallet
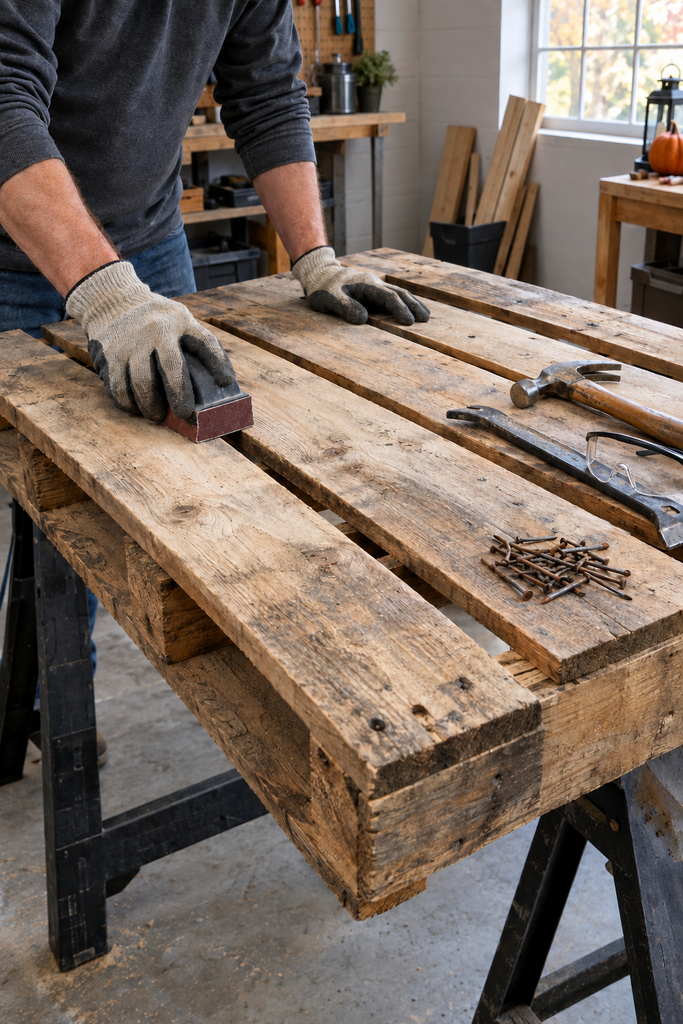
A salvaged pallet needs about 30 minutes of prep before it goes on display: check the stamp, clean off grime, and deal with splinters and nails.
Skipping this step is how you end up with a torn skeleton, a snagged costume on a trick-or-treater, or a chemically treated board in your yard.
How Do You Choose a Pallet That Is Safe to Handle?
Look for the IPPC stamp, a small box with a wheat-stalk logo burned or printed on the side block. The treatment code inside tells you how the wood was processed:
| Stamp code | Meaning | Use it? |
|---|---|---|
| HT | Heat treated | Yes |
| KD | Kiln dried | Yes |
| MB | Methyl bromide fumigation | No |
| No stamp | Domestic pallet, treatment unknown | Only if clean and dry |
Beyond the stamp, check the wood itself:
- Skip dark stains or oily patches. They signal spills from chemicals or food waste.
- Skip moldy or soft boards. They crumble when you drive screws.
- Pick intact deck boards. Cracked slats won’t hold chain tension.
- Pick a heavier hardwood pallet if you plan to stand it freestanding, since the weight helps it resist wind.
Brightly painted pallets (blue, red) are usually pool-owned rentals from companies that expect them back, so leave those at the store.
How Do You Remove Splinters and Protruding Nails?
Work on sawhorses with a sheet of plywood on top, and wear safety glasses and work gloves.
- Scrub first. Hose the pallet down with water and dish soap, then let it dry for a full day so sanding doesn’t gum up.
- Pull or sink nails. Run a gloved hand over every board. Pry loose nails with a pry bar or cat’s paw, and drive raised heads flush with a hammer and nail set.
- Add screws where boards wobble. Two 1-1/4-inch exterior wood screws per loose slat to firm it up.
- Sand the front face and edges. Use an orbital sander with 60-grit paper, then 120-grit on anything hands or the skeleton will touch. Wear a dust mask.
- Seal it (optional). A coat of exterior stain or clear outdoor sealer slows rot, and a gray or black stain makes the wood look older.
Leave the back rough. Nobody sees it, and the weathered texture helps the dungeon look.
Outdoor Setup and Storage
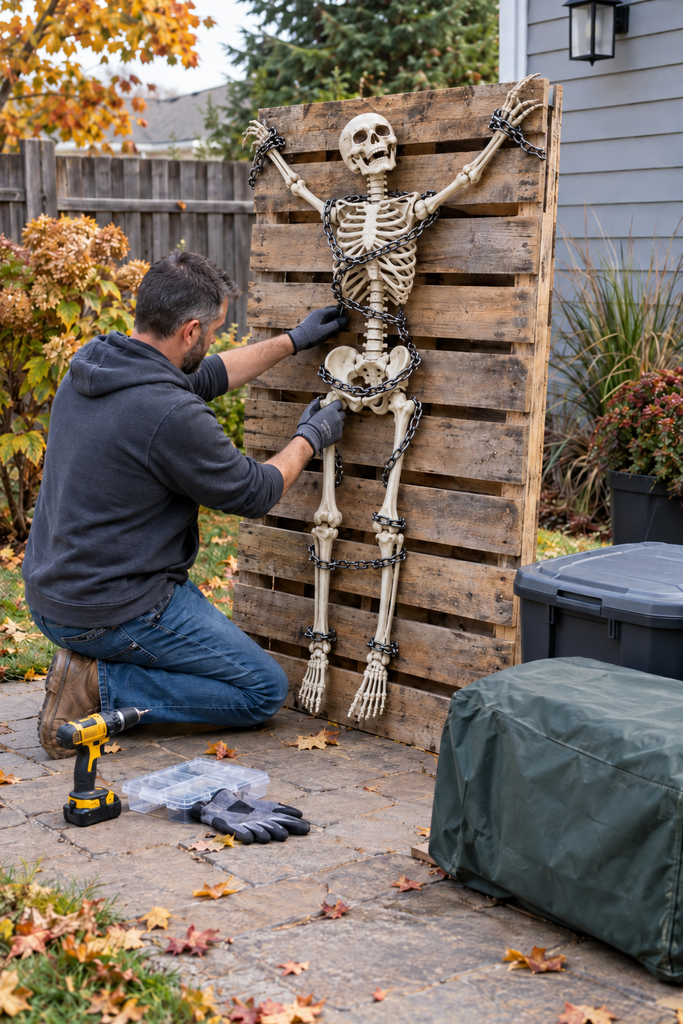
A vertical pallet with a skeleton strapped to it acts like a sail, so anchoring comes first, weatherproofing second, and a storage plan third. Getting all three right lets you reuse the same prop for several seasons.
How Do You Keep the Pallet from Tipping?
Pick the anchor that fits your spot:
- Against a tree or fence: Lash the top stringer to the trunk or a fence post with rope or ratchet straps. This is the fastest and steadiest option.
- Freestanding in a lawn: Drive two 3-foot lengths of rebar about 12 inches into the ground, one on each side, and zip-tie or U-bolt the pallet’s end stringers to them.
- On a hard surface: Screw two 2×4 feet, about 24 inches long, perpendicular to the bottom of the pallet, then set sandbags or cinder blocks on them.
Give the pallet a hard push at shoulder height after setup. If it rocks, add a rear brace from the top stringer angled down to a stake.
How Should You Store the Decoration After Halloween?
Cut the zip ties, coil the chains, and pull the batteries from every light pack so they don’t corrode over the winter.
Let the pallet dry for a few days in a garage before storing it. Lean it flat against a wall or slide it under shelving, off concrete, on two scrap boards so moisture can’t wick up into the wood.
Store the skeleton in a large bin or hang it from a hook by the skull loop. Tape the skeleton’s hardware and spare zip ties inside the bin lid so next year’s setup starts with everything in one place.